Help

Categories
Send email updates
In this article:
- Create an email
- Audience and channel selection
- Preview
- Save and Publish
- Email comments
- Subscriber information
To create an email:
- Click the "New email" button in the top-right corner of the Emails dashboard.
- Give your email a title and write your message in the text field. You can use the menu buttons at the top of the email editor to format text, add bulleted lists, a horizontal line, hyperlinks, images, or buttons!
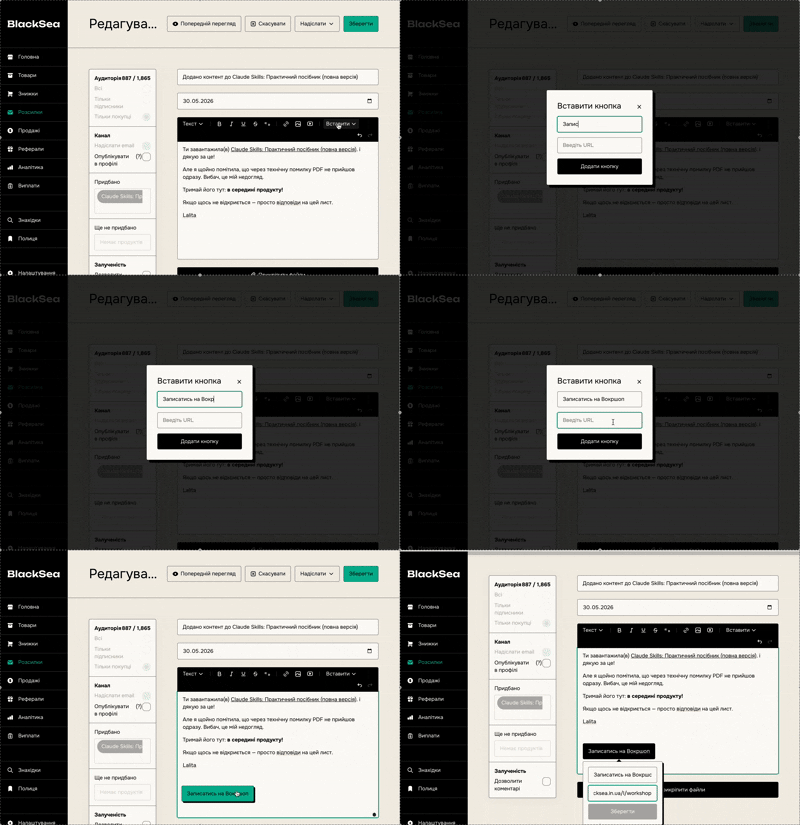
To add a call-to-action (CTA) button to your email, click the arrow icon in the menu bar, enter the text for the button and the button's URL, and then click "Insert button". This will add a button to the body of your email. You can add multiple buttons to your email in different positions, and even drag and reposition a button after creating it!
Audience and channel selection
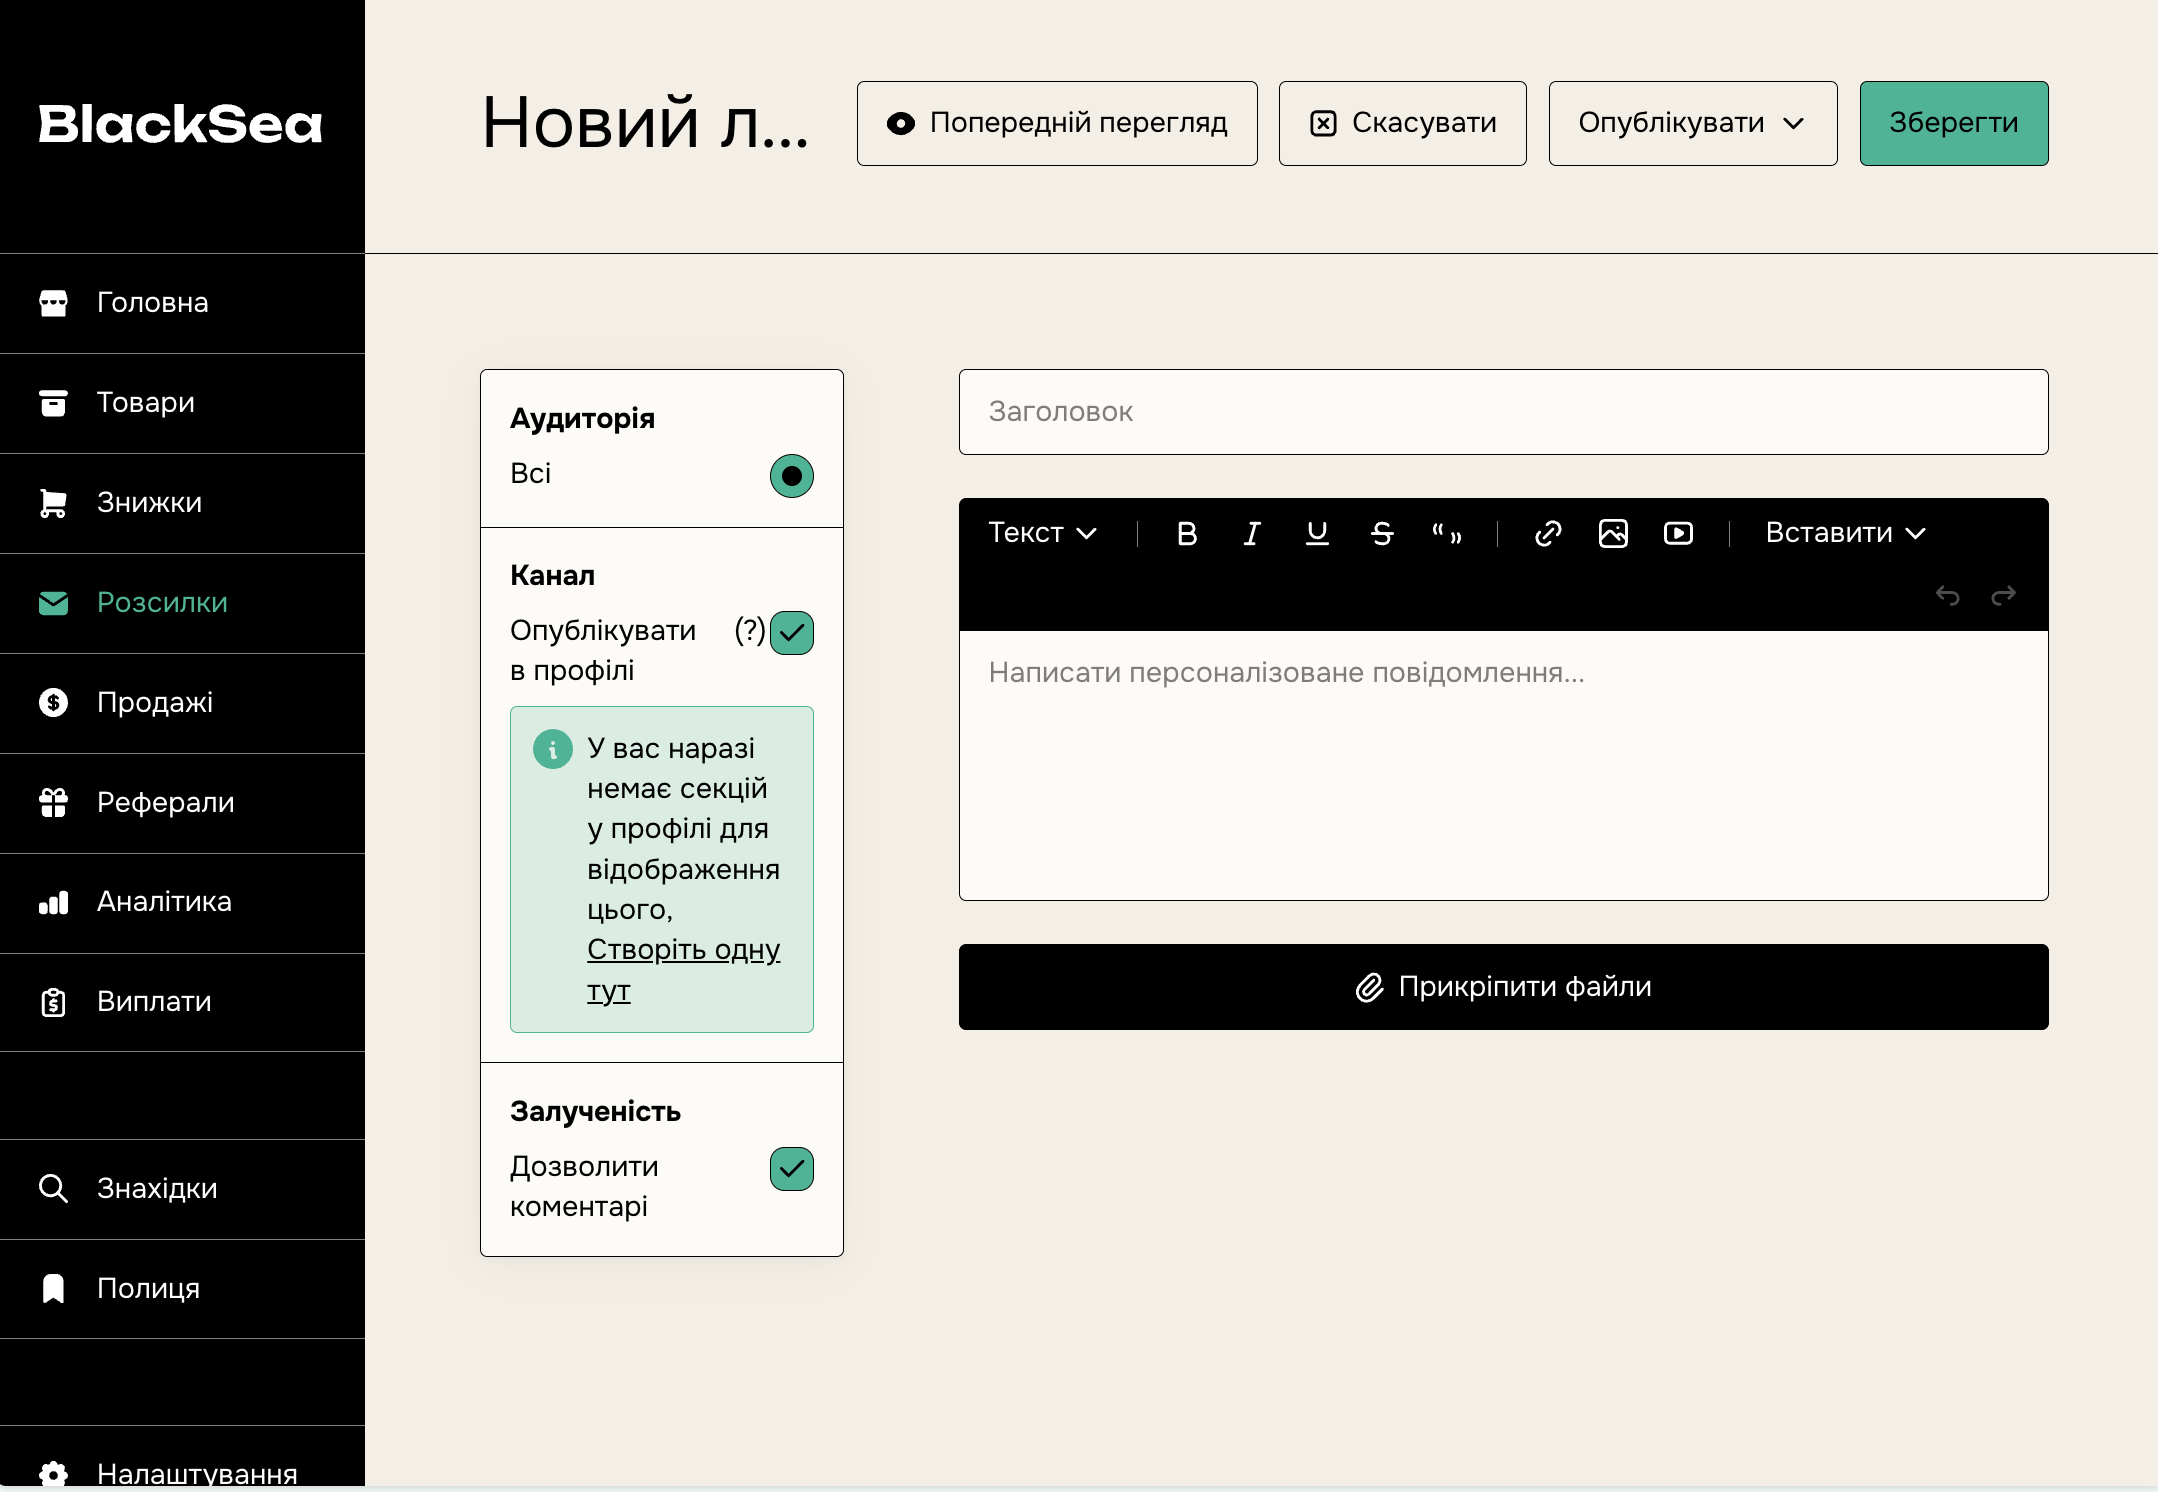
On the left you can choose your audience. You can send your email to your followers, customers, affiliates, or everyone!
Note: These choices will only appear once you have customers (or followers, affiliates, and so on).
When sending an email to your followers, you can narrow your audience by purchased products, not-purchased products, and date range. This lets you target a specific group of followers, such as those who are new, or those who have never bought your products.
Refine your email audience by selecting customers who bought a specific product, paid a certain amount, or joined within a certain date range. You can also filter by location, versions, or tiers.
Want to automatically send an email to your affiliates right after they sign up? Choose your audience as "Affiliates only", and then specify the affiliates of which product (or all products). Write your email and schedule it to be sent hours or days after someone successfully becomes your affiliate.
Once you've narrowed your audience, you'll choose your channel. You can send it as an email and/or create a post on your BlackSea profile.
Preview
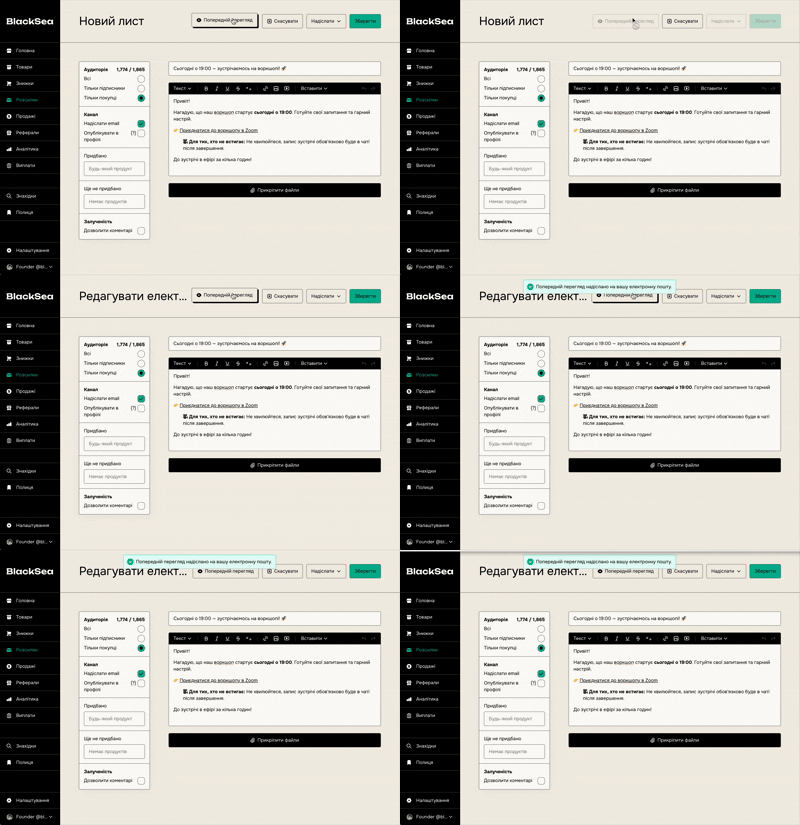
Before clicking "Send", it's probably worth previewing for yourself how the email will look to your audience in their inbox.
Depending on the channels you selected for your email, you'll be able to preview it as an email and as a profile post by clicking the "Preview" button at the top of the page.
Save and Publish
If you'd like to save progress on your email and finish it later, just click the "Save" button to send it to the Drafts section until you publish or delete it. Drafts are sorted from the most recently updated email to older ones. When you're happy with your email, click the "Send/Publish" button in the top-right corner.
You can choose to publish now or schedule the email to publish on a future date.
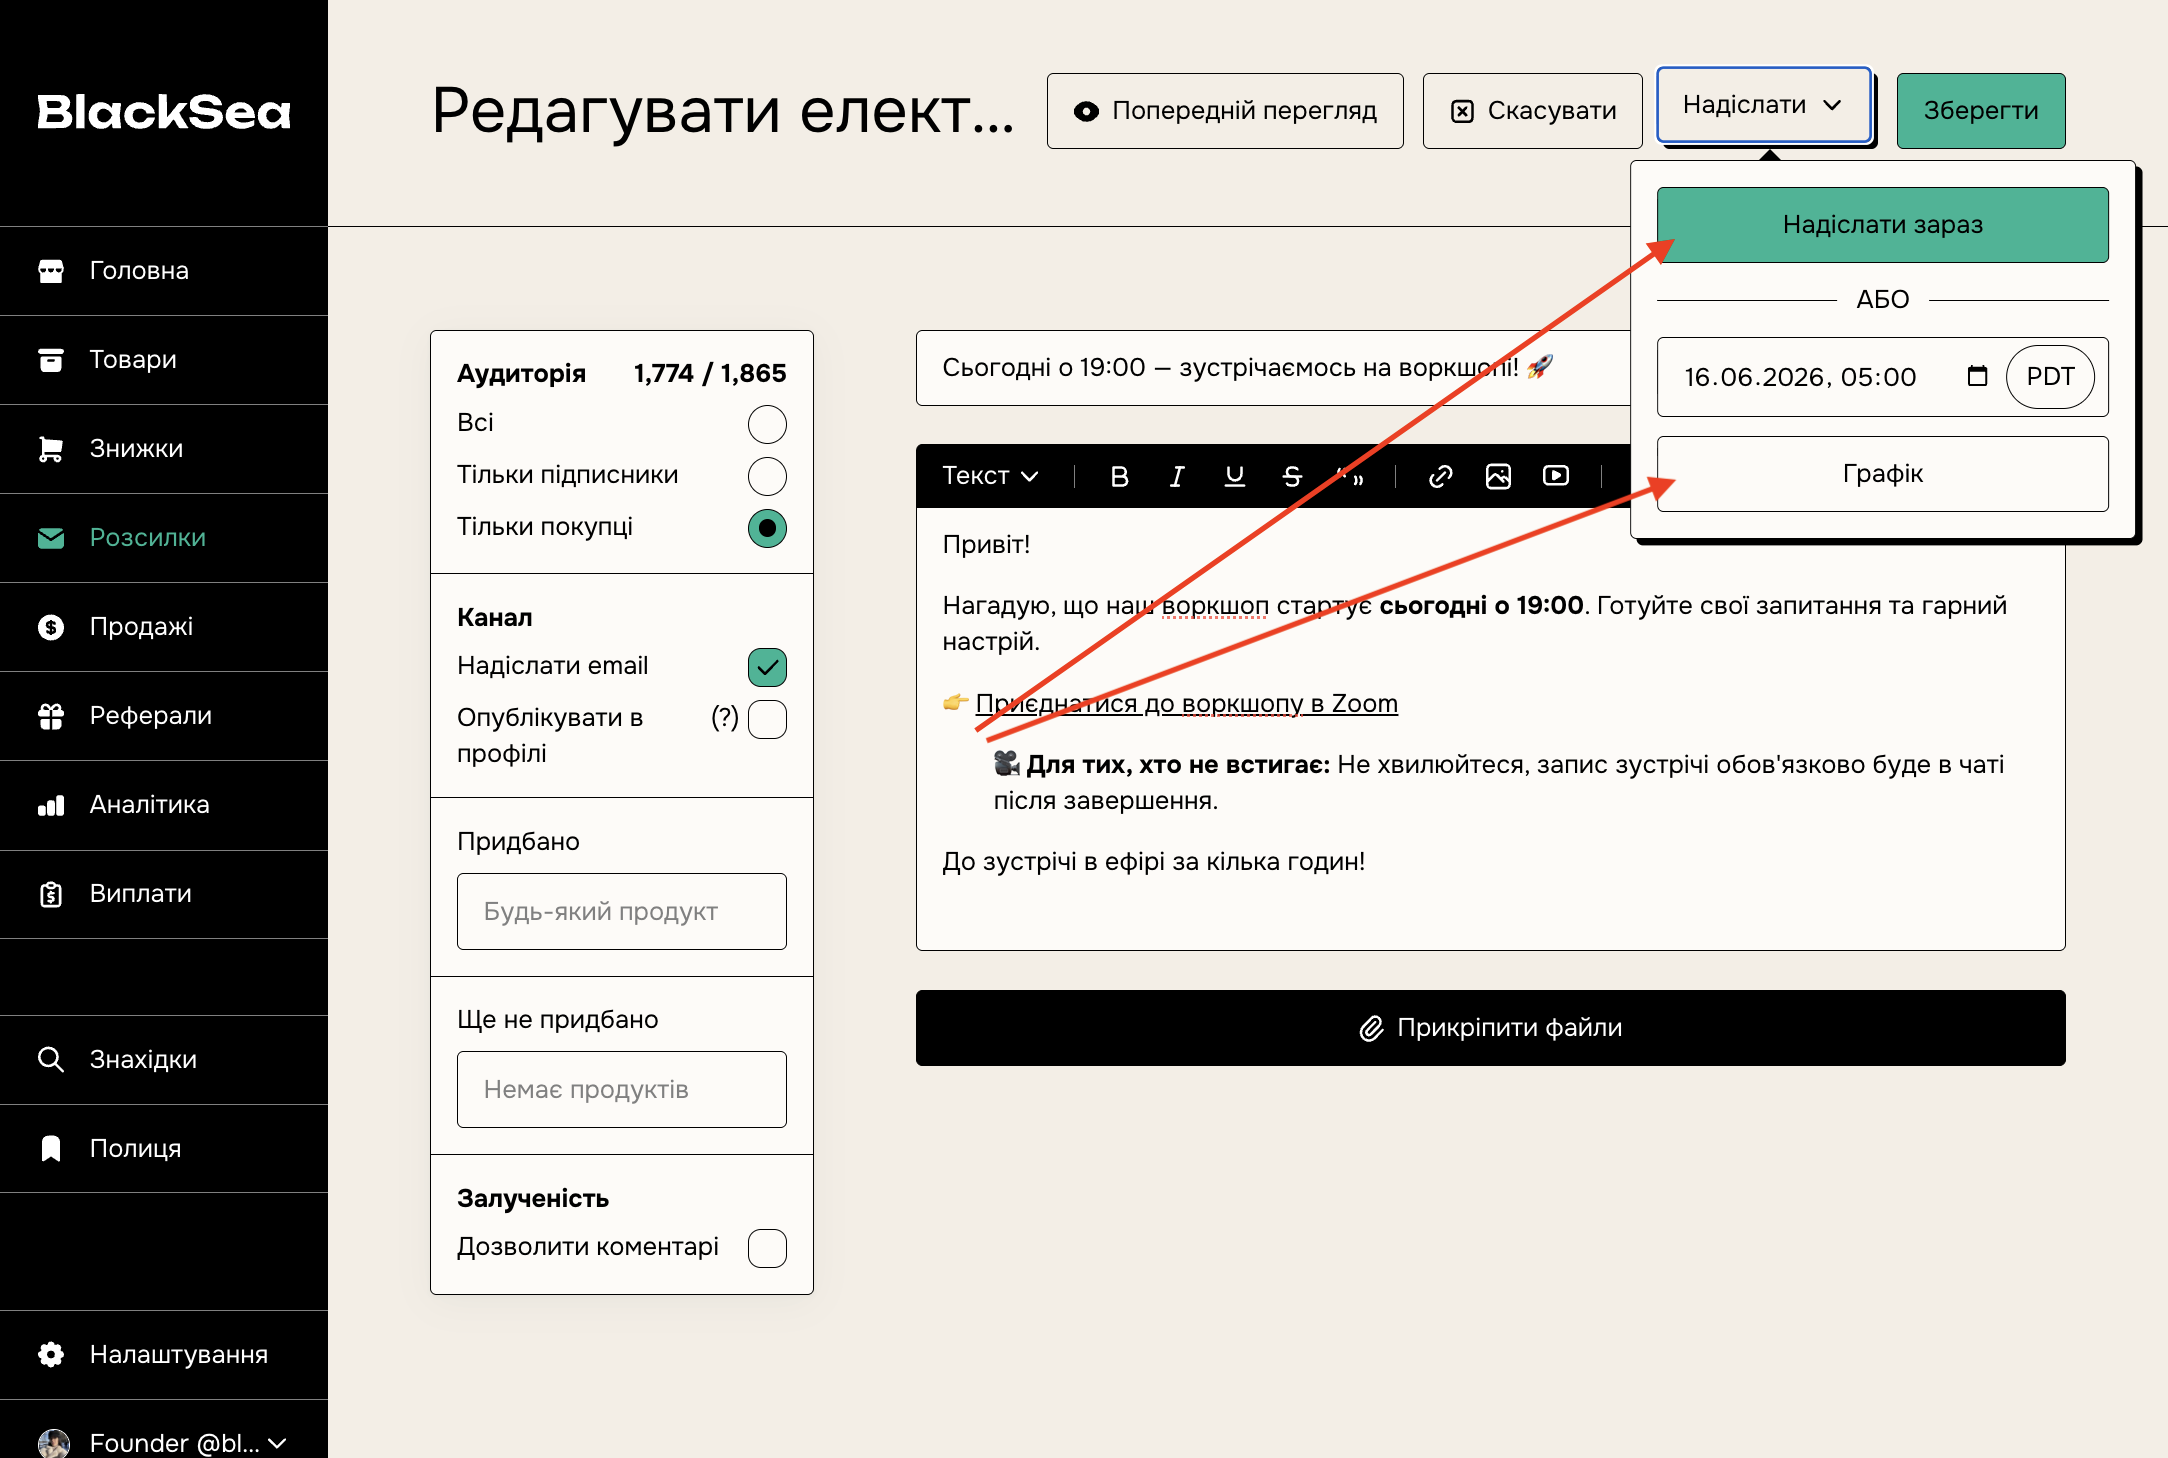
If you want new followers or customers to be sent an email that was published before they subscribed to your updates, just go to the Sales dashboard, select their purchase, and send them any missed emails.
Email comments
Comments let you engage your customers and quickly get feedback on your content.
Comments are now enabled by default, but you can uncheck the box to disable them.
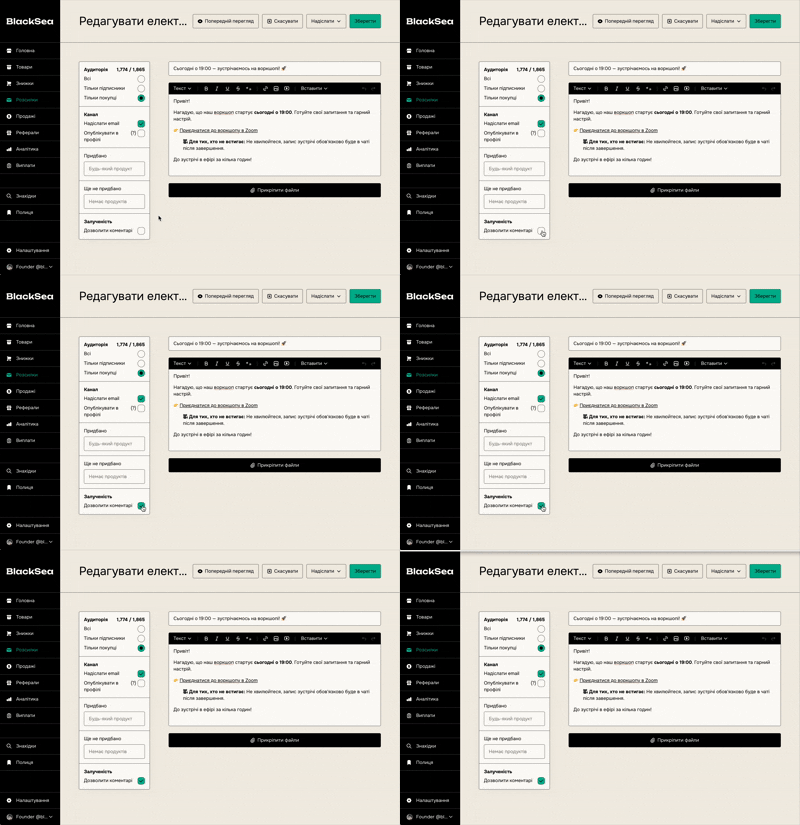
Leaving a comment
Once a post is published, comments can also be added with a single click:
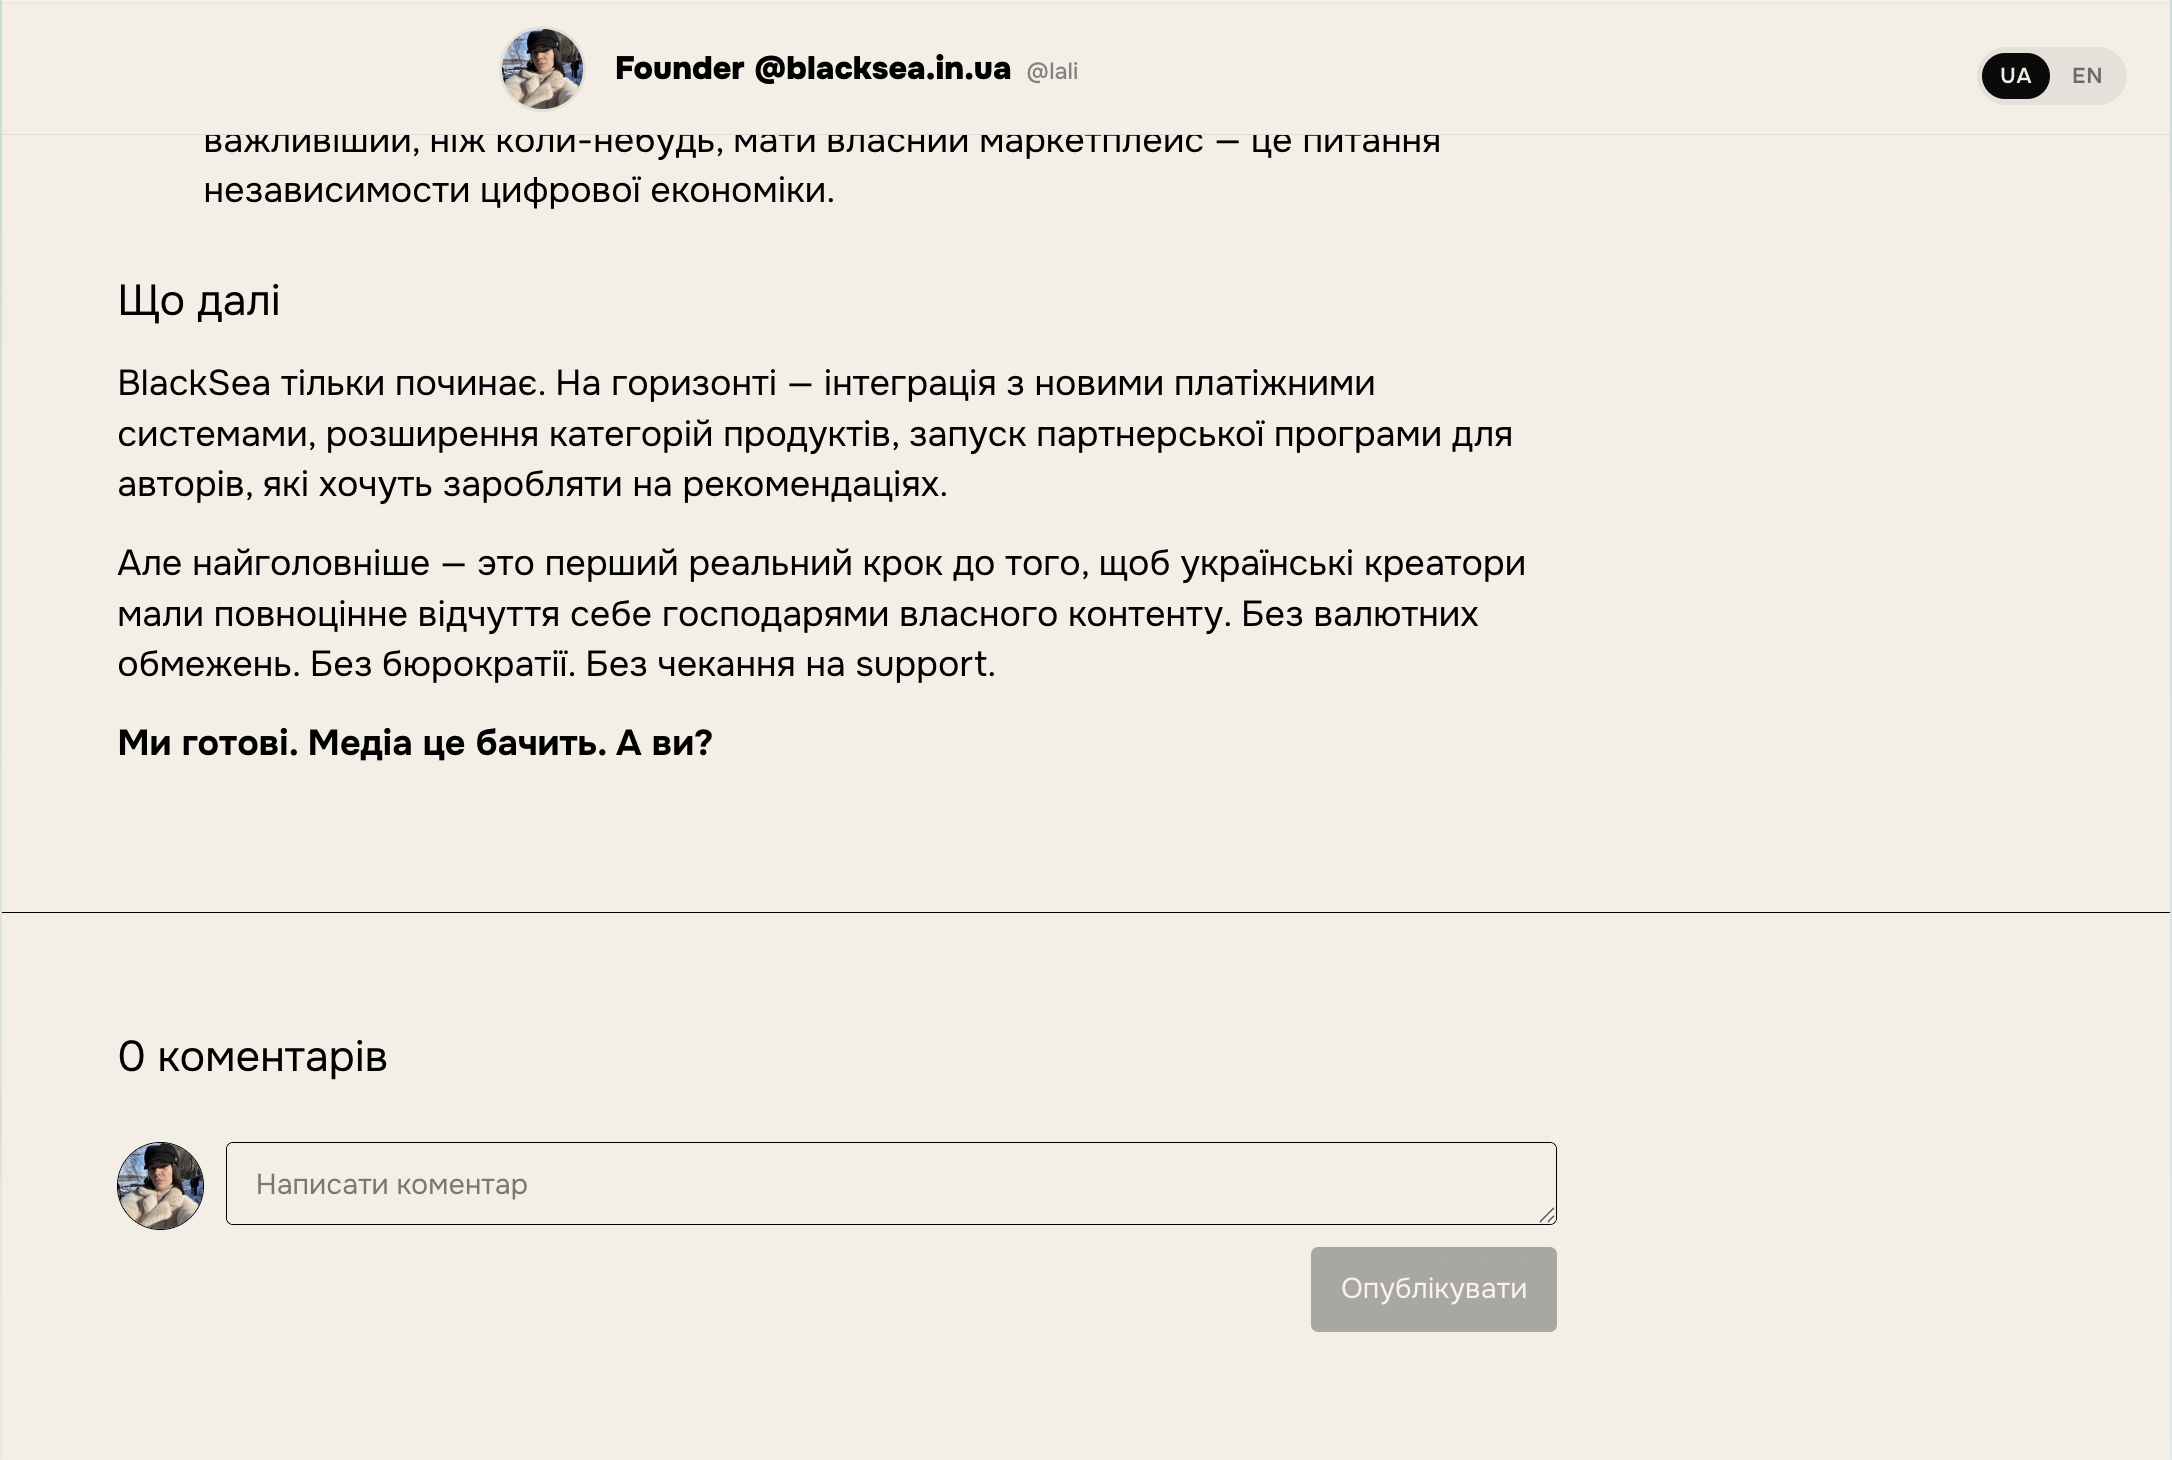
Comments can be made by:
- The author of the email
- A buyer of the product the email belongs to
- Any user who can view the email
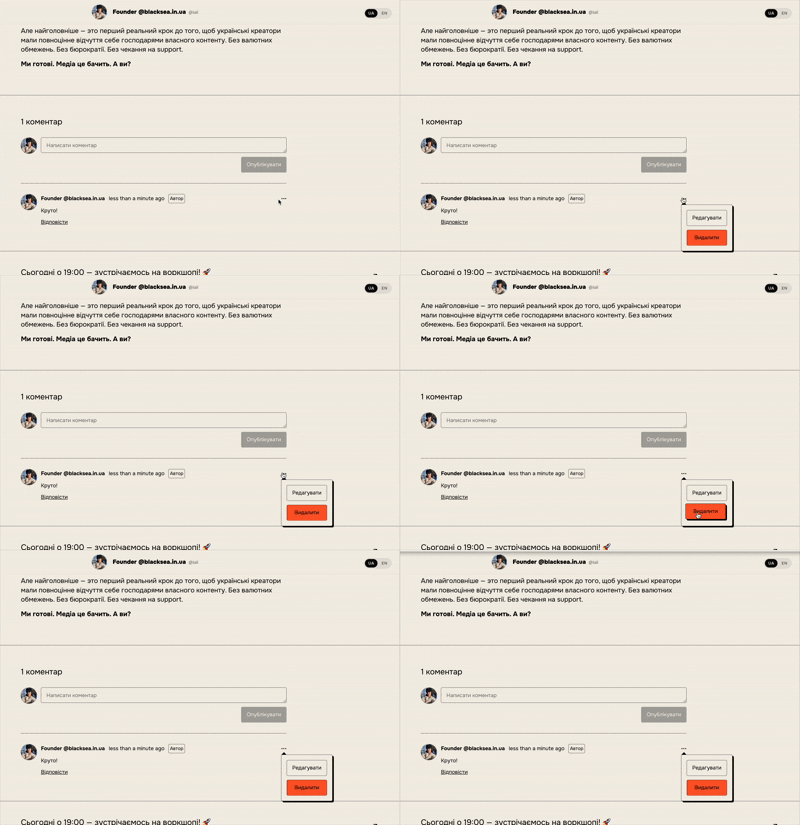
Deleting comments
Comments can be deleted by both the commenter and the author of the email, so you'll be able to moderate the comments on your emails. Note that deleting a comment (or reply) also deletes all replies received for that comment.
Subscriber information
Click the "Subscribers" tab on the Emails dashboard to see the email IDs of all your subscribers and the date they subscribed. The list is sorted in descending order by the date the subscriber was added.
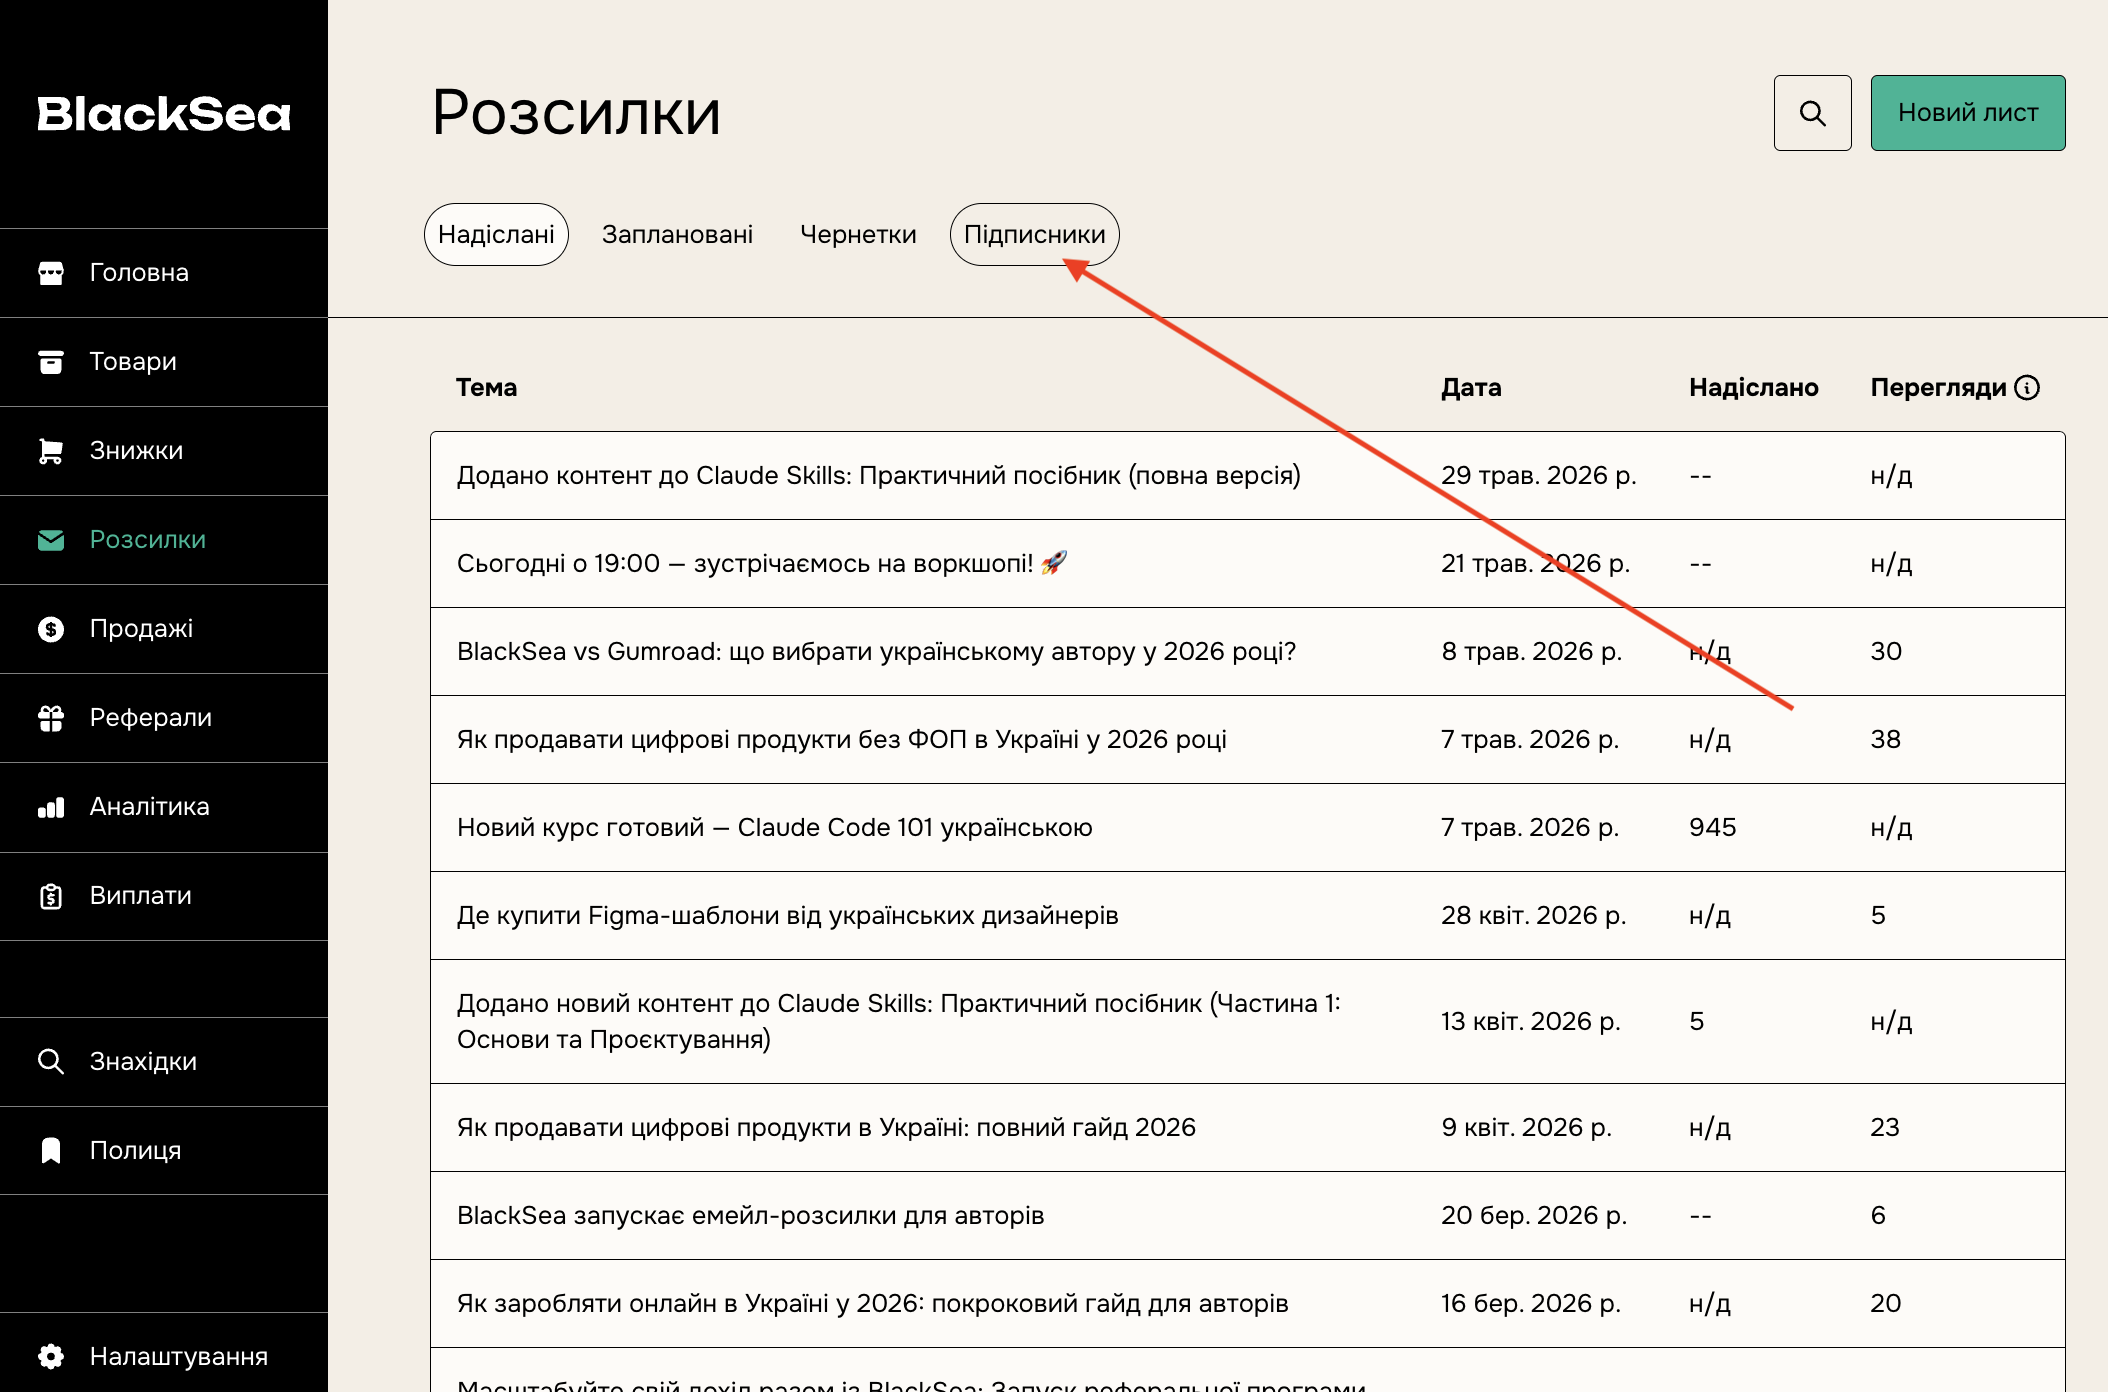
If you'd like to remove a subscriber, just click their name and click "Remove subscriber"